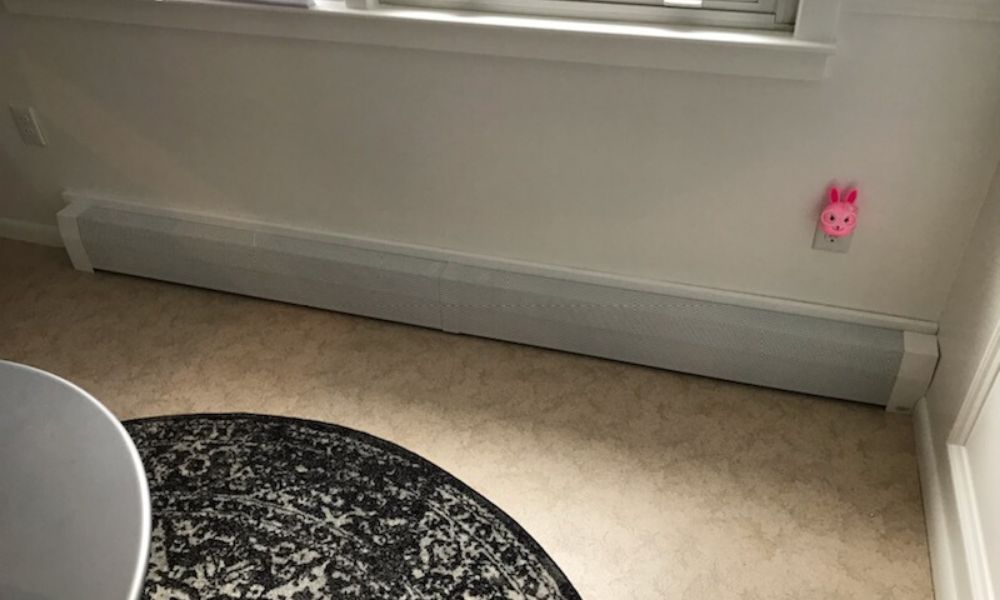
From the time cavemen discovered fire, we’ve used heat to not only cook our food but keep ourselves warm during the harsh, cold nights. Throughout the generations, we learned to hone fire to our will, even so much as to gather heat from something other than flames. It’s through this intuitive nature that we created what we know today as the modern home baseboard radiator. This is a brief history of home radiators and their evolution over the generations.
Though there have been various makeshift heater systems throughout history, the first official radiator invention didn’t come to be until the late 1850s. Designed and tested by businessman Franz San Galli, the first heating radiator ran on steam and consisted of hollow, cast-iron containers to transfer it throughout the system. Upon discovery, Victorian radiators, as people would call them, became increasingly sought after by nobles and aristocracy of the time.
Rising in popularity among nobles, it’s only natural that the general public would also take an interest in these luxurious devices. As such, inventors would come to hone the design of the initial product, change what fueled it, and make it more accommodating to the varying needs of consumers.
As the radiator evolved with the needs of each period, it progressively became more efficient as well as trendy. In fact, upon inventing the hot water radiator, many already experimented with ways to make it smaller and more compact. This is where the initial hot water baseboard radiators came from. With a boiler to now heat and the pump water through the hollow chasms, homeowners could enjoy more consistent heating than steam from a wall system. Plus, it took up less space.
Though baseboard heaters are a wonderful invention brought about by intuitive, intellectual minds, they don’t tend to be the most beautiful to look at. At EZ Snap™ Covers, we understand this and seek to supply you with the stylish baseboard radiator covers to pull your home out of the 19th century.
1080 Bassett Rd Unit D
Westlake, OH 44145 USA
Phone:
866.740.0005
Fax:
888.717.9751
Email:
support@ezsnapcovers.com
© 2025 EZ Snap Covers.
Powered by Shopify
Measure the height from the floor to the top of the metal wall plate.
Follow our guide for baseboard heater cover measurement:
Any baseboard larger than 7 3/8" (188 mm) will be compatible with our standard cover.
Any measurement greater than 9 3/8" (238 mm) will fit our tall cover.
Measure from the bottom of the finned tube heating element to the top of the metal wall plate,
A measurement of 5 1/2" to 6 3/4" (140 mm – 172 mm) will fit our standard cover.
A measurement of 7 1/2" to 8 3/4" (191 mm – 222 mm) will fit our tall cover.
Measure the distance from the wall or the metal wall plate attached to the wall, to the outside of the finned tube heating element.
Any measurement of less than 3 1/8" (76 mm) inches from the wall will fit our
standard cover.
Any measurement of less than 3 1/8" (76 mm) inches from the wall will fit our tall cover.
EZ Snap™ Wall Widgets are used when your old or existing wall back plate has been removed or if you have to hang your new cover 1 inch or higher to bring them up to a height that will fit our installation guidelines. Just measure your overall desired height, subtract 1", drill a hole, preferably in a stud and attach it to the wall with the included screw.
EZ Snap™ Floor Fidgets easily raise your new covers ¾ inch to compensate for any ¾ inch floor (wood, tile, or other) that has been installed any time since your baseboard heater was originally installed. May be used for any reason when the overall height has been shortened and the total height is less than 7-½ inches for standard height or 9-½ inches for the TALL height EZ Snap™ BaseBoard Covers. Just use the self-tapping screws to secure them to the top of your existing wallplate.
EZ Snap™ Wall Contraptions are used when your wall back plate has been completely removed. EZ Snap™ Wall Contraptions receives your EZ Snap™ BaseBoard Cover and keeps your aluminum fin tube from sagging. These completely replace your wall back plate. To install, slide up from the bottom and make sure the top is at your desired height. Screw to the wall, then bend the front finger up to hold the fin tube in place.
Measure from wall to wall and subtract ½ inch (to allow for wiggle room when installing your new covers.) The endcaps can be pulled or slid ½ inch outward on either end to fit your existing length requirements. Choose 2 flush to wall end caps.
Measure the overall length of the existing unit with ends attached then subtract ½ inch (to allow for wiggle room when installing your new covers.) The endcaps can be pulled or slid ½ inch outward on either end to fit your existing length requirements. Choose 2 Closed or Open-end caps.
Measure from the corner to the end of the unit with ends attached then subtract ½ inch (to allow for wiggle room when installing your new covers.) The endcaps can be pulled or slid ½ inch outward on either end to fit your existing length requirements. Choose 1 Closed or Open-end & 1 flush to wall end cap.
Measure the left side from corner A to corner B (see diagram). Then subtract 3 inches for the 90 degree inside corner, then subtract another ½ inch (to allow for wiggle room when installing your new covers.) Repeat for the right side if also wall to wall. You need to subtract a total of 3½ inches from each side that is wall to wall. Choose your end caps.
Measure the left side from the corner of the wall to the end of the unit with ends caps. Then subtract 3 inches for the 90 degree inside corner, then subtract another ½ inch (to allow for wiggle room when installing your new covers.) Repeat for the right side. You need to subtract a total of 3½ inches from both left and right sides. Choose your end caps.
L-Shaped outside radiators ending in the middle of the wall:
Measure from outside corner of the wall A to the end of the radiator unit with end caps attached B, then subtract ½" (to allow for wiggle room when installing your new covers.)
Measure from outside corner of the wall to the corner of the wall, then subtract 1/2" (to allow for wiggle room when installing your new covers.)
Left leg - measure from the corner out to the end of the radiator subtract 3" for the corner and ½ (to allow for wiggle room when installing your new covers.)
Center leg - measure from corner to corner and subtract 3" for each corner a total of 6"
Right leg - measure from the corner out to the end of the radiator subtract 3" for the corner and ½" (to allow for wiggle room when installing your new covers.).
We recommend that you order covers a little longer than normal and cut them on site, as there are many opportunities for mistakes in measuring and installation. By cutting on site you can fit and cut to fit. The covers can be cut with a good quality jigsaw and a fine metal cutting blade.
Now that you’ve learned how to measure baseboard heaters,
you’re ready to order.