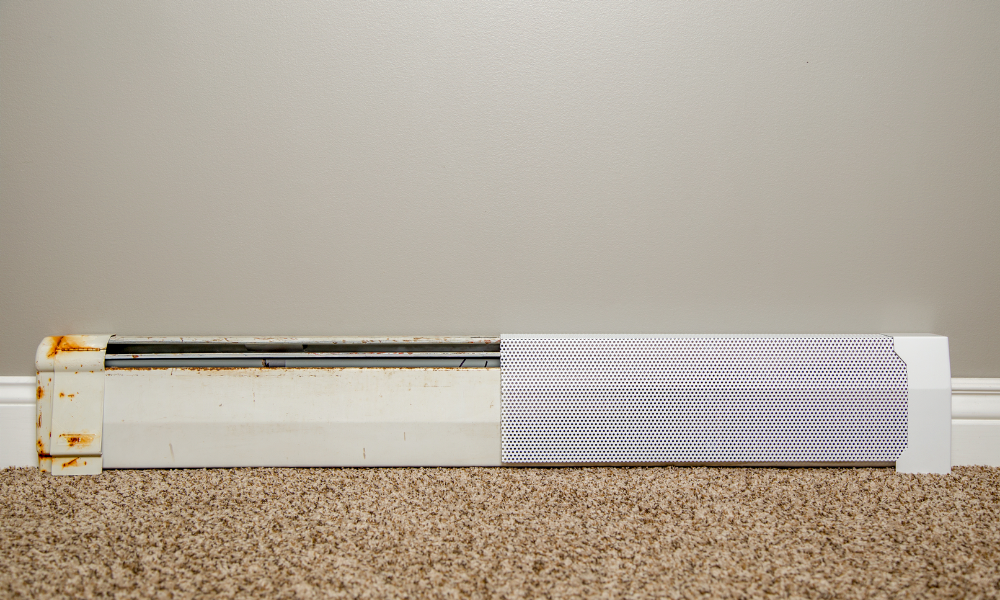
Measure Your Baseboard Heaters
How to measure baseboard heaters:
Step 1
HOW TO MEASURE
Always measure left to right, and twice for accuracy

Step 1: Floor to top of Wall plate
Measure the height from the floor to the top of the metal wall plate.
Follow our guide for baseboard heater cover measurement:
Any baseboard larger than 7 3/8" (188 mm) will be compatible with our standard cover.
Any measurement greater than 9 3/8" (238 mm) will fit our tall cover.

Step 2: Bottom of Fintube to Top of Wall Plate
Measure from the bottom of the finned tube heating element to the top of the metal wall plate,
A measurement of 5 1/2" to 6 3/4" (140 mm – 172 mm) will fit our standard cover.
A measurement of 7 1/2" to 8 3/4" (191 mm – 222 mm) will fit our tall cover.

Step 3: Back Wall to Front of Fintube
Measure the distance from the wall or the metal wall plate attached to the wall, to the outside of the finned tube heating element.
Any measurement of less than 3 1/8" (76 mm) inches from the wall will fit our
standard cover.
Any measurement of less than 3 1/8" (76 mm) inches from the wall will fit our tall cover.
Step 2
DETERMINE IF BRACKETS ARE NECESSARY
Always measure left to right, and twice for accuracy

Wall Widget
EZ Snap™ Wall Widgets are used when your old or existing wall back plate has been removed or if you have to hang your new cover 1 inch or higher to bring them up to a height that will fit our installation guidelines. Just measure your overall desired height, subtract 1", drill a hole, preferably in a stud and attach it to the wall with the included screw.

Floor Fidgets
EZ Snap™ Floor Fidgets easily raise your new covers ¾ inch to compensate for any ¾ inch floor (wood, tile, or other) that has been installed any time since your baseboard heater was originally installed. May be used for any reason when the overall height has been shortened and the total height is less than 7-½ inches for standard height or 9-½ inches for the TALL height EZ Snap™ BaseBoard Covers. Just use the self-tapping screws to secure them to the top of your existing wallplate.

Wall Contraptions
EZ Snap™ Wall Contraptions are used when your wall back plate has been completely removed. EZ Snap™ Wall Contraptions receives your EZ Snap™ BaseBoard Cover and keeps your aluminum fin tube from sagging. These completely replace your wall back plate. To install, slide up from the bottom and make sure the top is at your desired height. Screw to the wall, then bend the front finger up to hold the fin tube in place.
Step 3
HOW TO MEASURE LENGTH
Based on how your heater is configured,
choose an option below to expand and view
specific hot water baseboard heater measurement templates.
Congratulations!
Now that you’ve learned how to measure baseboard heaters,
you’re ready to order.


