As the fall chill returns to the air, it’s time to shift your focus from summertime activities to preparing your home for the colder months. Taking proactive steps to winterize your house keeps you warm and comfortable, helps you save on energy bills, and prevents the need for costly repairs due to a heating problem.
This guide outlines essential tasks you should complete to get your home ready for winter. From the roof down to the foundation, we will cover the key areas that need attention before the first frost arrives. Following these steps allows you to create a snug, energy-efficient sanctuary for the cold months ahead.
Inspect the Roof and Gutters
The roof is your home’s primary defense against snow, ice, and frigid winds. Begin by visually inspecting it from the ground. Look for missing, cracked, or curled shingles that could allow water to seep in, and pay close attention to the areas around vents, skylights, and chimneys, as these are common spots for leaks. If you notice any signs of damage, hire a professional roofer to make the necessary repairs before winter storms hit. A small repair now can prevent major water damage and expensive structural issues later.
Next, turn your attention to the gutters. Throughout the fall, leaves, twigs, and other debris can accumulate, creating blockages that prevent proper drainage. Clogged gutters can lead to ice dams, where melting snow refreezes at the edge of the roof, forcing water underneath the shingles and into your home. To prevent this, clear your home’s gutters and downspouts of all debris. After cleaning, run water through them with a hose to confirm they flow freely. Consider installing gutter guards to make this annual task much easier in the future.
Seal Air Leaks Around Windows and Doors
Drafty windows and doors are major culprits for heat loss, forcing your heating system to work harder and driving up your energy bills. A simple way to check for leaks is to hold your hand near the frames of your windows and doors on a windy day. If you feel any cool air blowing in, there is an air leak.
To seal these drafts, you can use one or more of the following methods:
- Caulk: Apply a fresh line of exterior caulk around window and door frames where they meet the siding. Look for cracks in existing caulk and replace it if it is peeling or brittle.
- Weatherstripping: Check the weatherstripping around your doors and windows. If it appears worn, compressed, or damaged, replace it with self-adhesive foam or rubber weatherstripping.
- Window insulation film: For a layer of protection on older, single-pane windows, apply an interior window insulation film. This transparent film creates a pocket of insulating air that reduces heat loss and minimizes condensation.
Sealing these leaks makes a significant difference in your home’s energy efficiency. It is a simple weekend project that provides immediate benefits and long-term savings.
Prepare Your Heating System
Your heating system is an essential part of your home during winter, which means ensuring it runs efficiently and safely is crucial. Before you turn it on for the season, schedule a professional inspection and tune-up for your furnace or boiler. A technician will clean the components, check for carbon monoxide leaks, and make sure all parts are in good working order. This routine maintenance extends the life of your system and prevents breakdowns on the coldest days.
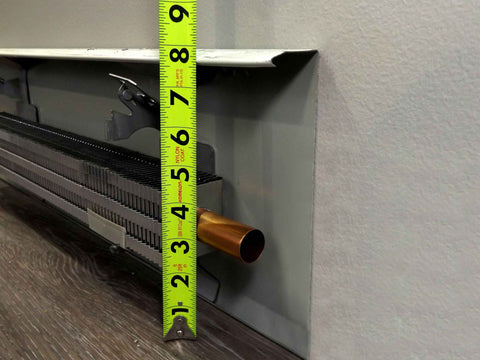
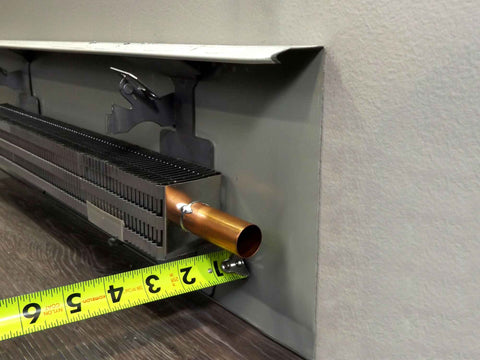
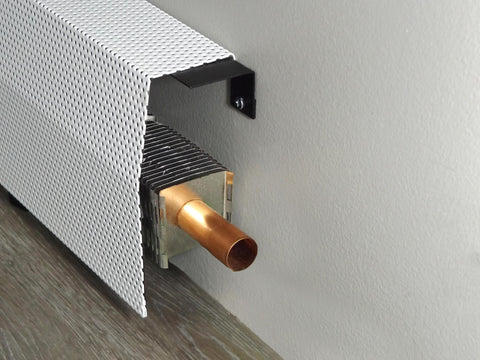
Change your furnace filter before the heating season begins and continue to replace it monthly. A clean filter allows for better airflow, which means your furnace does not have to work as hard to circulate warm air. If you have baseboard heaters, take time to clean the fins and surrounding areas to remove dust and debris that can obstruct heat flow. Upgrading to modern baseboard heater replacement covers can also improve heat distribution while giving your rooms a fresh, updated look.
Protect Your Plumbing From Freezing
Frozen pipes can burst and cause catastrophic water damage, leading to expensive and disruptive repairs. To protect your home’s plumbing, start by disconnecting, draining, and storing all outdoor hoses. Shut off the water supply to exterior faucets from the indoor shut-off valve, then open the outdoor spigots to drain any remaining water.
Identify any pipes in unheated areas of your home, such as the crawl space, attic, garage, or basement. These pipes are most vulnerable to freezing, so you should insulate them with foam pipe sleeves or heat tape. For an extra layer of protection during extreme cold snaps, allow a small trickle of water to run from faucets served by vulnerable pipes; the moving water is less likely to freeze.
Check Your Fireplace and Chimney
A crackling fire is a wonderful source of warmth and comfort during winter, but the fireplace requires proper maintenance to operate safely. Before you light your first fire of the season, have the chimney professionally cleaned and inspected. A certified chimney sweep will remove creosote buildup, which is a flammable substance that can cause chimney fires. They will also check for blockages and inspect the structural integrity of the chimney liner and flue.
Verify that your fireplace damper opens and closes correctly to prevent heated air from escaping when the fireplace is not in use. Check the firebox for any cracked bricks or mortar and repair them as needed. If you have a wood-burning stove, inspect the door gaskets for a tight seal. Taking these precautions means you can safely enjoy your fireplace all winter long.
Winterize Your Yard and Garden
Your yard also needs attention before winter arrives. Rake up fallen leaves to prevent them from smothering your lawn and creating a damp environment that encourages pests and diseases. Once your lawn is clear, apply a winterizing fertilizer to give the grass roots the nutrients they need to survive the cold and emerge strong in the spring.
Protect your plants and trees by wrapping delicate shrubs in burlap to shield them from heavy snow and harsh winds. Add a layer of mulch around the base of your plants to insulate the roots from freezing temperatures. Prune any dead or overhanging tree branches that could break under the weight of ice or snow and damage your home or power lines. Taking care of your landscape now will reward you with a healthy, vibrant yard next year.
Enjoy Your Winter-Ready Home
By following these steps, you can confidently get your home ready for the colder seasons. A little effort now saves you money on energy costs and creates a safe and comfortable environment for your family. Don’t wait for the first snowflake to fall; start your winter preparations today and enjoy peace of mind all season long.


