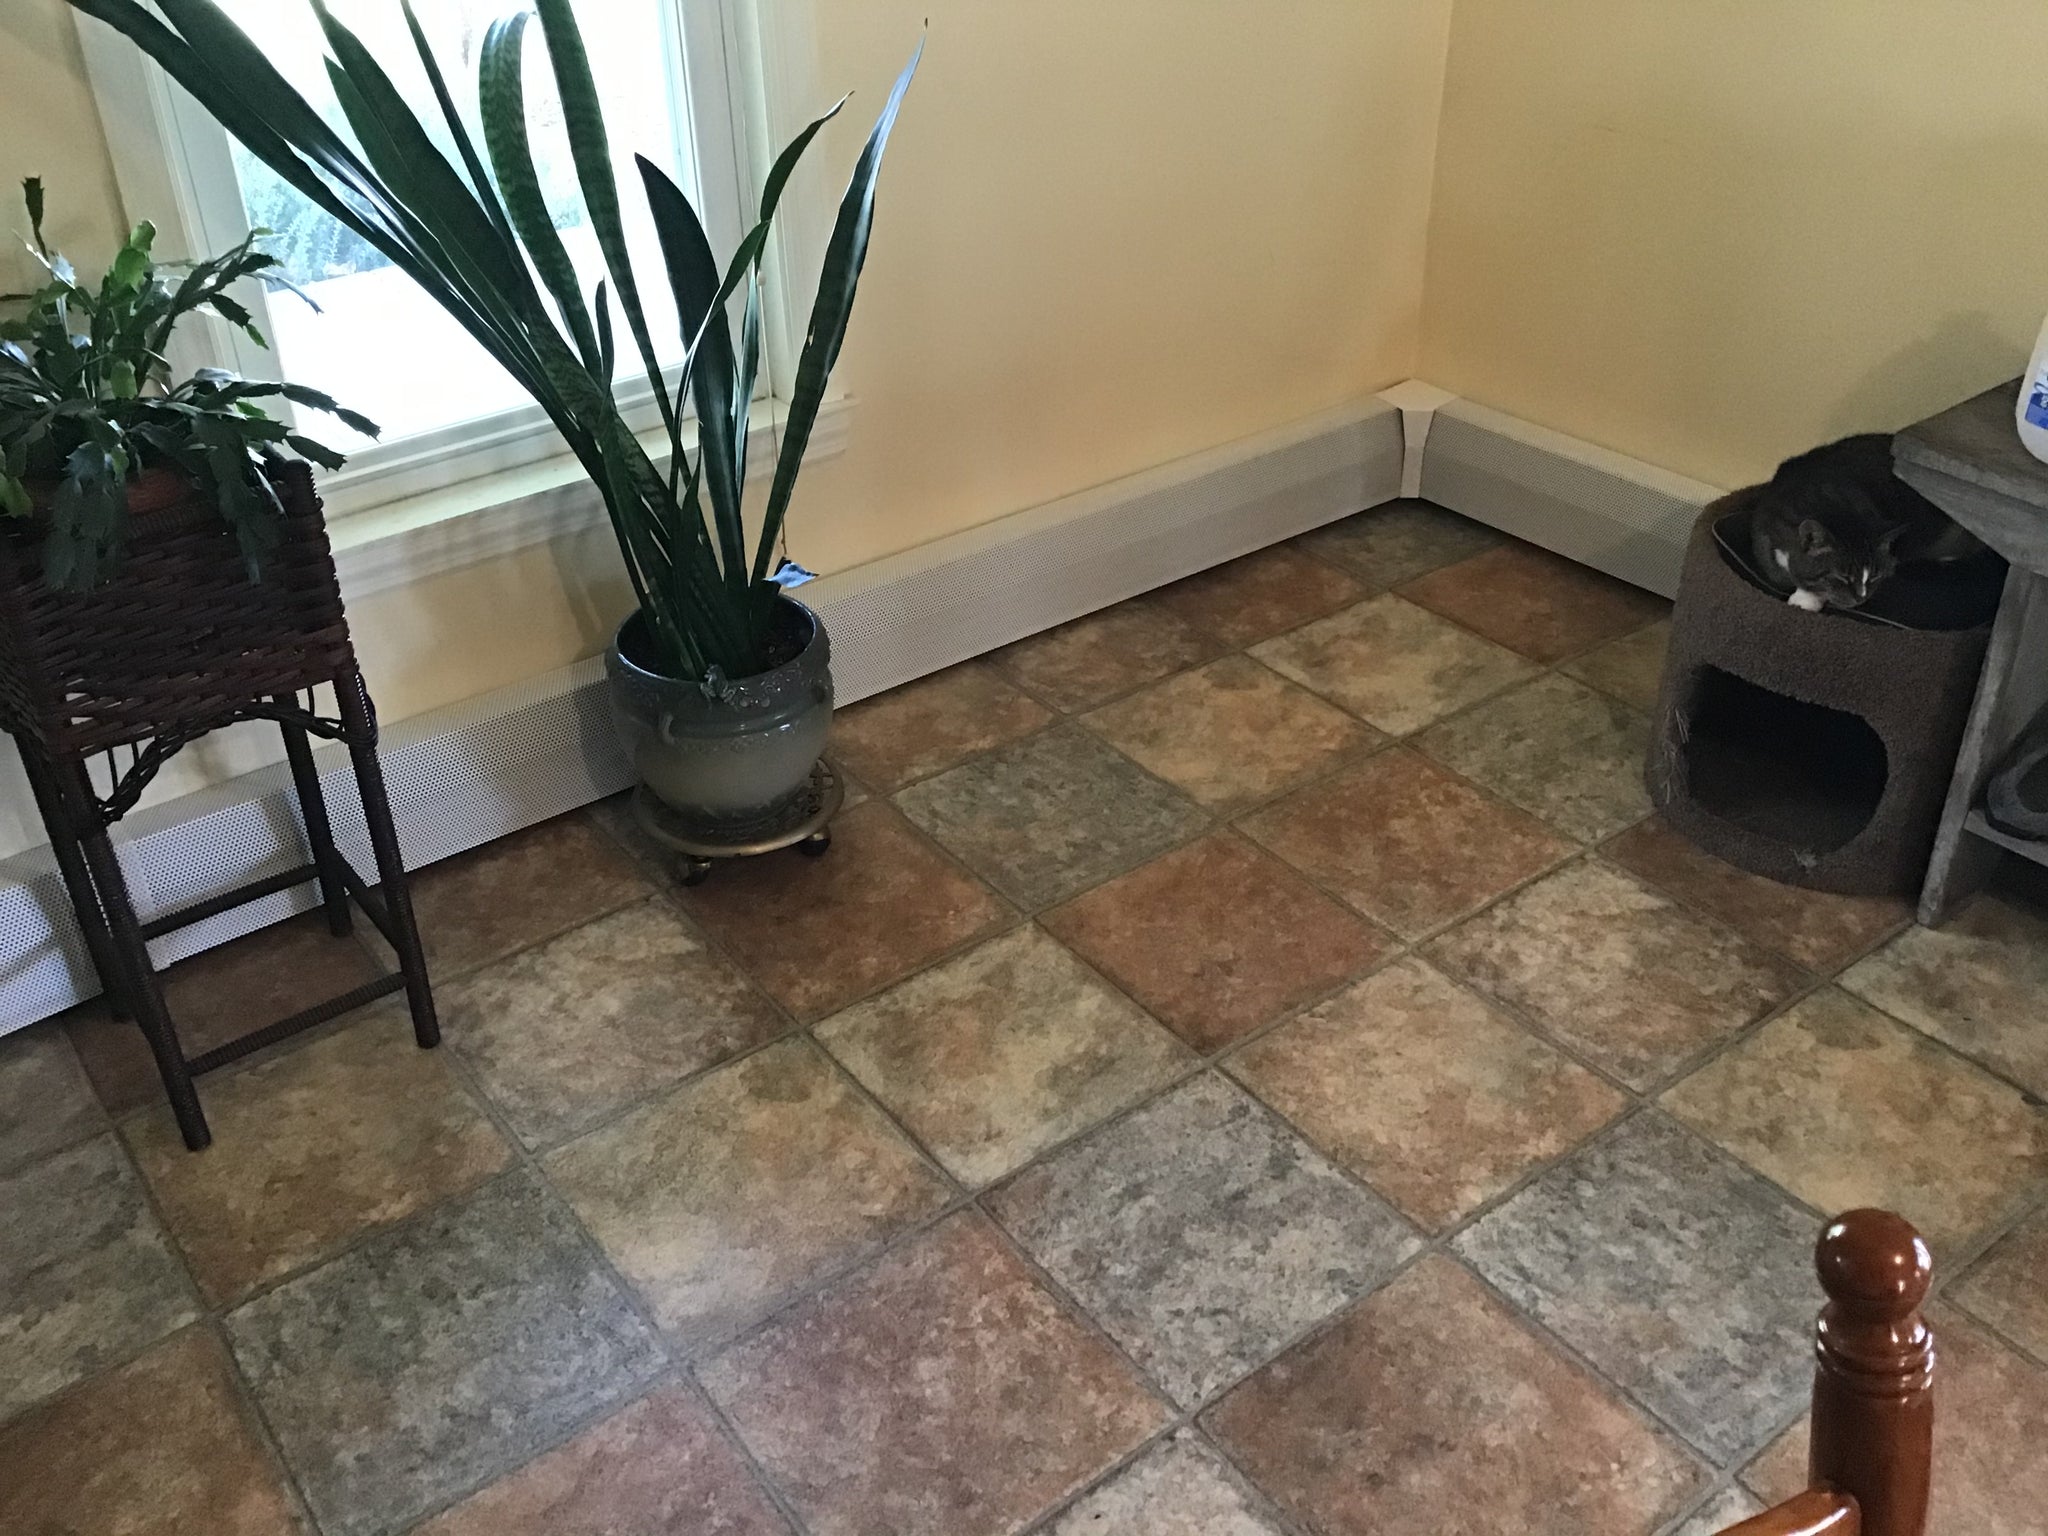
There are two main types of baseboard heaters: electric and hydronic. Despite sharing a few key similarities, the two function in completely different ways. Here’s what you might not know about baseboard heaters—and why you should typically pick a hydronic baseboard heater over an electric one.
As the name suggests, electric baseboard heating systems use electricity to directly heat your home. Hydronic systems operate off electricity, too, with one minor difference: they heat the room indirectly through steam that emanates from heated water.
Since electric baseboards take a direct approach, they’re less energy efficient, and if you’re not careful, they can pose a major risk to your home. If your heaters are too close to flammable objects, you could end up with burns on your furniture or a blazing fire. Hydronic systems are more energy efficient, and they pose fewer risks to your furniture and home.
Baseboard heaters are equipped with something called a fin tube. Fin tubes are spiral-shaped tubes with small fins coating the outer surface. The fins increase the surface area of the tube, which improves the heater’s overall heat transfer rate.
Let’s learn a little more about hydronic baseboard heaters and why they’re useful additions to your home. One thing you might not know about baseboard heaters is how they function. The type of heat that hydronic heaters produce is mostly convective. A stream of hot water passes through the heater, heating air between its fin tubes. This sets the convection process in motion. The warm air rises through a gap at the top of the baseboard heater’s enclosure, and cool air flows in at floor level to replace it.
The heater’s heat output is highly reliant on water temperature, which is an important consideration when you’re sizing your baseboard heater. The length of your baseboard heater should be adjusted accordingly to the water temperature.
Newer, modern methods of heating are slowly overtaking the traditional ones, but that doesn’t mean baseboard heaters are outdated. Baseboard heaters have plenty of benefits, including easy installation and maintenance processes. Since there’s no ductwork involved, baseboard heaters are simple to install. This makes them fantastic options for older homes. The lack of ductwork makes for easy cleaning, too. Take off the cover, sweep up the dirt and dust, and you’re done.
A common misconception about baseboard heaters is that they’re loud. The truth is, they’re not. Unlike forced air heating systems, which loudly and repeatedly blow heated air, baseboard heaters are designed to operate quietly.
If you think regular baseboard heaters are unsightly, there’s good news. A decorative baseboard heater cover won’t just cover up the bad—it comes with the added bonus of improving your heater’s function and preventing the buildup of rust.
If you need a sturdy, reliable cover for your hydronic baseboard heater, come check out EZSnap™ Cover’s selection of functional and decorative baseboard heater covers.
1080 Bassett Rd Unit D
Westlake, OH 44145 USA
Phone:
866.740.0005
Fax:
888.717.9751
Email:
support@ezsnapcovers.com
© 2024 EZ Snap Covers.
Powered by Shopify
Measure the height from the floor to the top of the metal wall plate.
Follow our guide for baseboard heater cover measurement:
Any baseboard larger than 7 3/8" (188 mm) will be compatible with our standard cover.
Any measurement greater than 9 3/8" (238 mm) will fit our tall cover.
Measure from the bottom of the finned tube heating element to the top of the metal wall plate,
A measurement of 5 1/2" to 6 3/4" (140 mm – 172 mm) will fit our standard cover.
A measurement of 7 1/2" to 8 3/4" (191 mm – 222 mm) will fit our tall cover.
Measure the distance from the wall or the metal wall plate attached to the wall, to the outside of the finned tube heating element.
Any measurement of less than 3 1/8" (76 mm) inches from the wall will fit our
standard cover.
Any measurement of less than 3 1/8" (76 mm) inches from the wall will fit our tall cover.
EZ Snap™ Wall Widgets are used when your old or existing wall back plate has been removed or if you have to hang your new cover 1 inch or higher to bring them up to a height that will fit our installation guidelines. Just measure your overall desired height, subtract 1", drill a hole, preferably in a stud and attach it to the wall with the included screw.
EZ Snap™ Floor Fidgets easily raise your new covers ¾ inch to compensate for any ¾ inch floor (wood, tile, or other) that has been installed any time since your baseboard heater was originally installed. May be used for any reason when the overall height has been shortened and the total height is less than 7-½ inches for standard height or 9-½ inches for the TALL height EZ Snap™ BaseBoard Covers. Just use the self-tapping screws to secure them to the top of your existing wallplate.
EZ Snap™ Wall Contraptions are used when your wall back plate has been completely removed. EZ Snap™ Wall Contraptions receives your EZ Snap™ BaseBoard Cover and keeps your aluminum fin tube from sagging. These completely replace your wall back plate. To install, slide up from the bottom and make sure the top is at your desired height. Screw to the wall, then bend the front finger up to hold the fin tube in place.
Measure from wall to wall and subtract ½ inch (to allow for wiggle room when installing your new covers.) The endcaps can be pulled or slid ½ inch outward on either end to fit your existing length requirements. Choose 2 flush to wall end caps.
Measure the overall length of the existing unit with ends attached then subtract ½ inch (to allow for wiggle room when installing your new covers.) The endcaps can be pulled or slid ½ inch outward on either end to fit your existing length requirements. Choose 2 Closed or Open-end caps.
Measure from the corner to the end of the unit with ends attached then subtract ½ inch (to allow for wiggle room when installing your new covers.) The endcaps can be pulled or slid ½ inch outward on either end to fit your existing length requirements. Choose 1 Closed or Open-end & 1 flush to wall end cap.
Measure the left side from corner A to corner B (see diagram). Then subtract 3 inches for the 90 degree inside corner, then subtract another ½ inch (to allow for wiggle room when installing your new covers.) Repeat for the right side if also wall to wall. You need to subtract a total of 3½ inches from each side that is wall to wall. Choose your end caps.
Measure the left side from the corner of the wall to the end of the unit with ends caps. Then subtract 3 inches for the 90 degree inside corner, then subtract another ½ inch (to allow for wiggle room when installing your new covers.) Repeat for the right side. You need to subtract a total of 3½ inches from both left and right sides. Choose your end caps.
L-Shaped outside radiators ending in the middle of the wall:
Measure from outside corner of the wall A to the end of the radiator unit with end caps attached B, then subtract ½" (to allow for wiggle room when installing your new covers.)
Measure from outside corner of the wall to the corner of the wall, then subtract 1/2" (to allow for wiggle room when installing your new covers.)
Left leg - measure from the corner out to the end of the radiator subtract 3" for the corner and ½ (to allow for wiggle room when installing your new covers.)
Center leg - measure from corner to corner and subtract 3" for each corner a total of 6"
Right leg - measure from the corner out to the end of the radiator subtract 3" for the corner and ½" (to allow for wiggle room when installing your new covers.).
We recommend that you order covers a little longer than normal and cut them on site, as there are many opportunities for mistakes in measuring and installation. By cutting on site you can fit and cut to fit. The covers can be cut with a good quality jigsaw and a fine metal cutting blade.
Now that you’ve learned how to measure baseboard heaters,
you’re ready to order.